
I made this dessert when we had a few friends over for dinner, and it was a hit. Berries of various sorts have been making quite a spectacle of themselves here in NorCal--much to my delight. C can attest to the wistful look I get every time I pass a roadside stand or store display piled high with strawberries, blackberries, and raspberries. When I think about the wonders awaiting me in the height of summer, I get a little tingly with anticipation. When will the blueberries finally get here? Will there be fiddleheads? Does persimmon season start in August? Can I be this blase about avocados already?
The shortcake recipe is, once again, the basic scone from Vegan with a Vengeance. I found it already posted in many places and versions online, but also here.
3 cups all-purpose flourI served these with generous amounts of blackberries and strawberries and lovely dollops of the famous and aforementioned whipped cream. Now for the recipe and tutorial:
2 Tbsp baking powder
1/4 cup sugar (plus extra for sprinkling on top)
1/4 tsp salt
1/3 cup vegetable oil
1 1/4 c non-dairy milk
Preheat oven to 400 degrees F.
In a large mixing bowl, sift together the flour, baking powder, sugar, and salt. Add the oil, soy cream, and milk with vinegar. Mix until just combined; the dough should be clumpy and not sticky. Even if there is still a light dusting of flour, that's okay.
Drop by 1/4 cupfuls onto the greased cookie sheet and pat the tops just a little bit to round them out; sprinkle with a bit of sugar. Bake 12-15 minutes until slightly browned on the bottom and firm on the top.
Vegan Whipped Cream
2 cans full fat coconut milk
3-4 T organic powdered sugar
3 T juice of some sort (I've used lemon, pomegranate, and cherry. Basically, you just need a vehicle for the agar, and since the coconut fat doesn't have a particularly strong flavor of any sort, a touch of fruitiness makes it extra good.)
1 T agar agar powder (heaping!)
 The only really tricky part of this recipe involves the coconut milk. If you have the bad fortune to have two cans that have been vigorously shaken or heated or some combination of the two, you may open them to discover that the fat has not adequately separated from the clear coconut milk to make a suitable whipped cream. If this happens, cry a little and start over. In the best case scenario, you would know that you were going to make this whipped cream a few days in advance. You would dutifully purchase your cans of coconut milk and let them hang unmolested in the refrigerator for at least 48 hours. I hadn't really planned ahead when I had to make this, but luckily my coconut milk was adequately separated. It easily could have gone the other way.
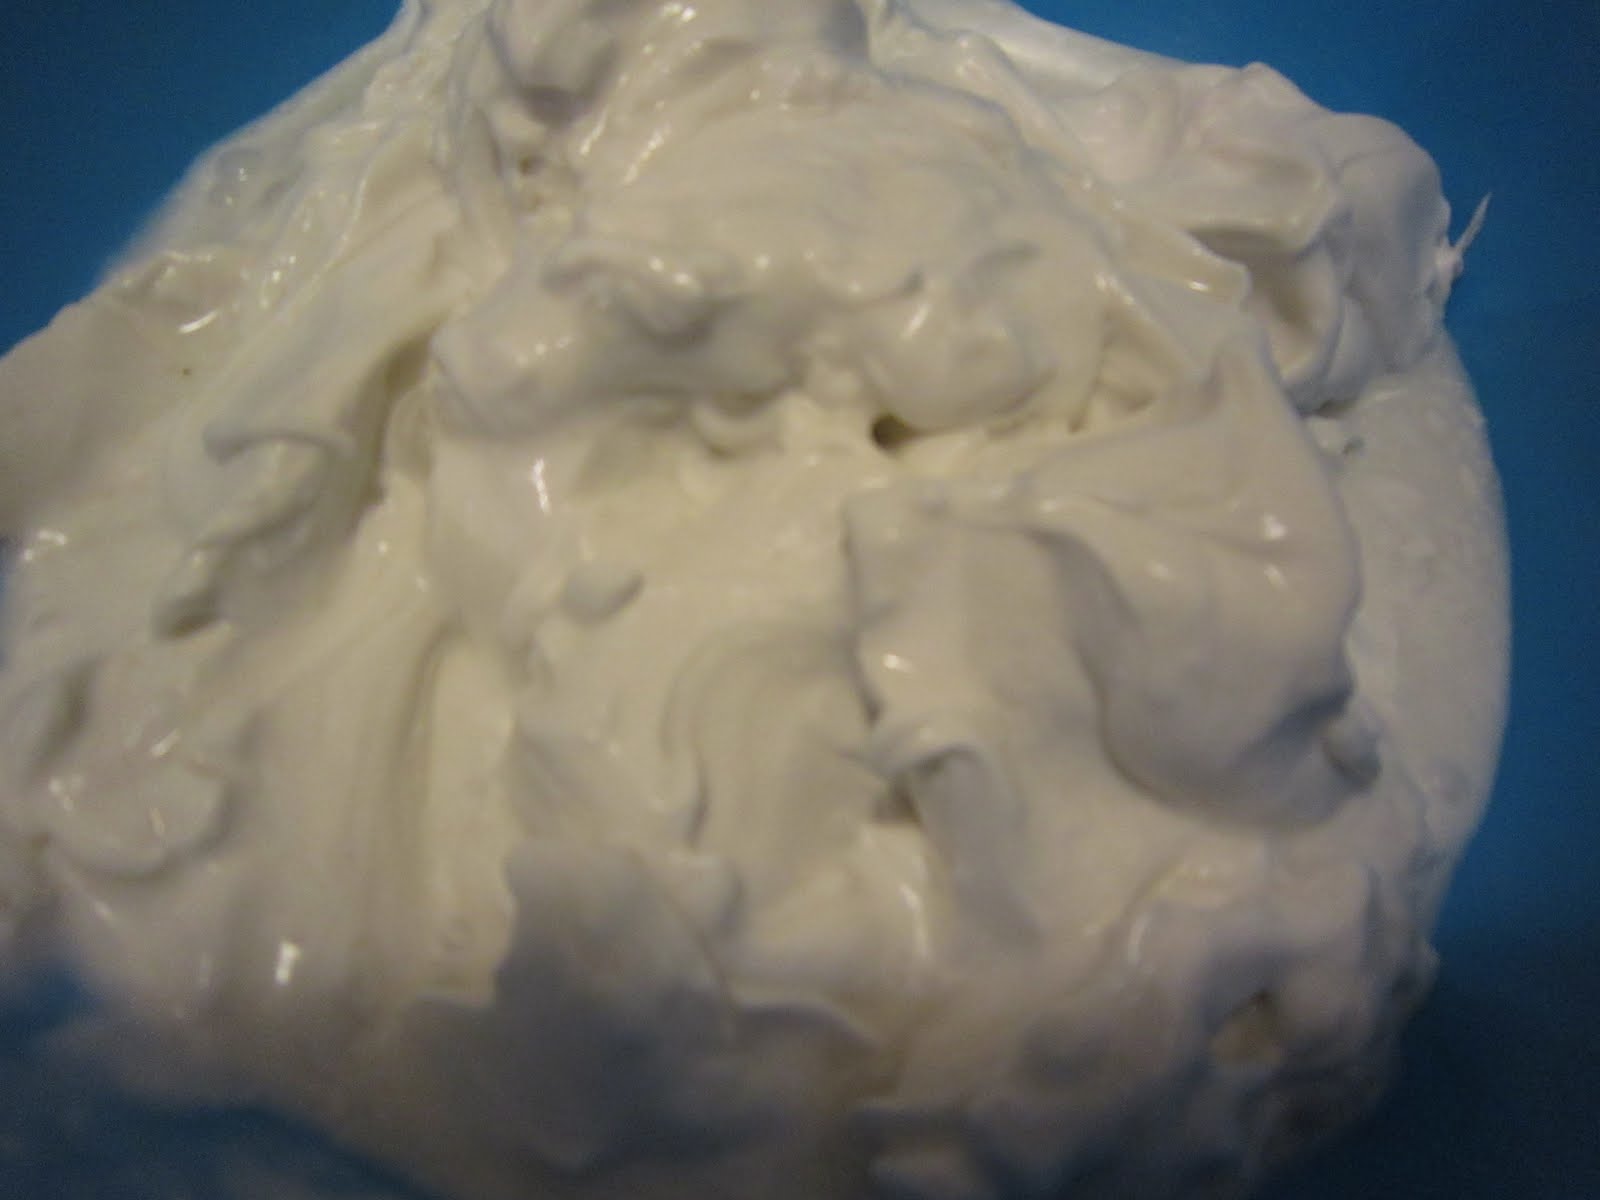

Pour the juice into a small microwave-safe bowl. Microwave for about 30 seconds until the juice is hot and steaming. If it boils a little bit, that's okay. Remove it from the microwave and mix in the agar. The heat activates the agar, so you need the juice to be hot. The agar will soak up the juice quickly.

Add the agar/juice mixture and the sugar to the coconut milk and whip for 3-4 minutes. At this point you can add more powdered sugar (if you don't think it's sweet enough) and/or any other flavored extracts you desire. Cover and refrigerate for at least 3 hours. Stir vigorously before serving.
On the right is the prepared whipped cream, ready to chill for a few hours. Note the lovely whorls of delicious, light, fluffy goodness. When it's ready to serve, it actually has an almost Cool Whip kind of consistency. Lovely, if I do say so myself.
3 comments:
Oh wow this looks great!
And thanks for understanding my conundrum. Do I put feeding my family or my morals first? Such a tough decision.
Glad you enjoyed the salad! Let me know if you give it a try :)
Oh cool. Thank you for this tip on vegan whipped cream. Can't get easier than that!
Katie
3 Studies SHOW How Coconut Oil Kills Belly Fat.
The meaning of this is that you literally get rid of fat by consuming coconut fat (in addition to coconut milk, coconut cream and coconut oil).
These 3 researches from big medicinal journals are sure to turn the conventional nutrition world upside down!
Post a Comment